Last updated on October 19, 2019
FreeRADIUS is an open source application that allows network to authenticate users who want to access network resources, such as the internet. Some routers provide built-in hotspot features that provide such function, but they usually lack comprehensive features for school use, such as tracking of usage. Since FreeRADIUS is available free for use, most enterprises use it to authenticate their users.
In this tutorial, I would go through the steps to install and set up FreeRADIUS on a Ubuntu Server 18.04.3. The tutorial is divided into two parts: Apache, MariaDB and PHP, and the installation of FreeRADIUS itself.
Install Apache
sudo apt update
sudo apt install apache2
Install MySQL
Next, we would install MariaDB instead of MySQL. MariaDB uses less resources and is recommended. The commands and usage of MariaDB and MySQL is identical.
sudo apt install mariadb-serverAfter installing MariaDB, we would secure the installation by answering a series of questions. The most important part is setting the root password of MariaDB, which will be needed for later part.
sudo mysql_secure_installation
After securing MariaDB, restart the daemon.
sudo service mysqld stop
sudo service mysqld start
We will now create the RADIUS database. First, log in to MariaDB.
sudo mysql -u root -pNext, within MariaDB, execute the following commands. These commands would create an empty RADIUS database, and a RADIUS admin user that has the privileges to run the database.
CREATE DATABASE radius;
GRANT ALL ON radius.* TO radius@localhost IDENTIFIED BY "mypassword";
FLUSH PRIVILEGES;
quit
Install PHP
Now, we would install PHP and its dependencies, follow by restart.
sudo apt install php libapache2-mod-php php-mysql
sudo systemctl restart apache2
Installing FreeRADIUS
With Apache, MariaDB and PHP installed, we could now install FreeRADIUS.
sudo apt-get install freeradius freeradius-mysql freeradius-utilsChange the permission of the schema.sql script for it to create the tables in the RADIUS database.
sudo chmod 777 /etc/freeradius/3.0/mods-config/sql/main/mysql/schema.sql
sudo mysql -u root -p radius < /etc/freeradius/3.0/mods-config/sql/main/mysql/schema.sql
If everything went correct, you should have a series of tables within the RADIUS database. You can inspect these tables using the command.
sudo mysql -u root -p -e "use radius;show tables;"
Lastly, change the permission of schema.sql back to its original.
sudo chmod 640 /etc/freeradius/3.0/mods-config/sql/main/mysql/schema.sqlNow, we would create a soft link to link to modules installed.
sudo ln -s /etc/freeradius/3.0/mods-available/sql /etc/freeradius/3.0/mods-enabled/Now, we need to configure FreeRADIUS so that it would default to using MariaDB for user authentication. Run this command.
sudo nano /etc/freeradius/3.0/mods-enabled/sqlMake the necessary changes to the sql config file.
sql {
driver = "rlm_sql_mysql"
dialect = "mysql"
# Connection info:
server = "localhost"
port = 3306
login = "radius"
password = "mypassword"
# Database table configuration for everything except Oracle
radius_db = "radius"
}
# Set to ‘yes’ to read radius clients from the database (‘nas’ table)
# Clients will ONLY be read on server startup.
read_clients = yes
# Table to keep radius client info
client_table = "nas"
Change the group and permission of the sql file.
sudo chgrp -h freerad /etc/freeradius/3.0/mods-available/sql
sudo chown -R freerad:freerad /etc/freeradius/3.0/mods-enabled/sql
Lastly, add a user to test whether your set up is correct. To do this, login to MariaDB.
sudo mysql -u root -pWithin MariaDB, execute the commands.
use radius;
insert into radcheck (id, username, attribute, op, value) values (1, 'user1', 'Cleartext-Password', ':=', 'another_password');
To check whether the new user is added into the database, run this within MariaDB.
select * from radcheck;You should see the new user in the database user table.

Now, quit from MariaDB.
quitRestart FreeRADIUS and test the connection.
sudo systemctl restart freeradius.service
radtest user1 another_password localhost 10 testing123
If connection is successful, you should receive Access-Accept receipt.

From Here
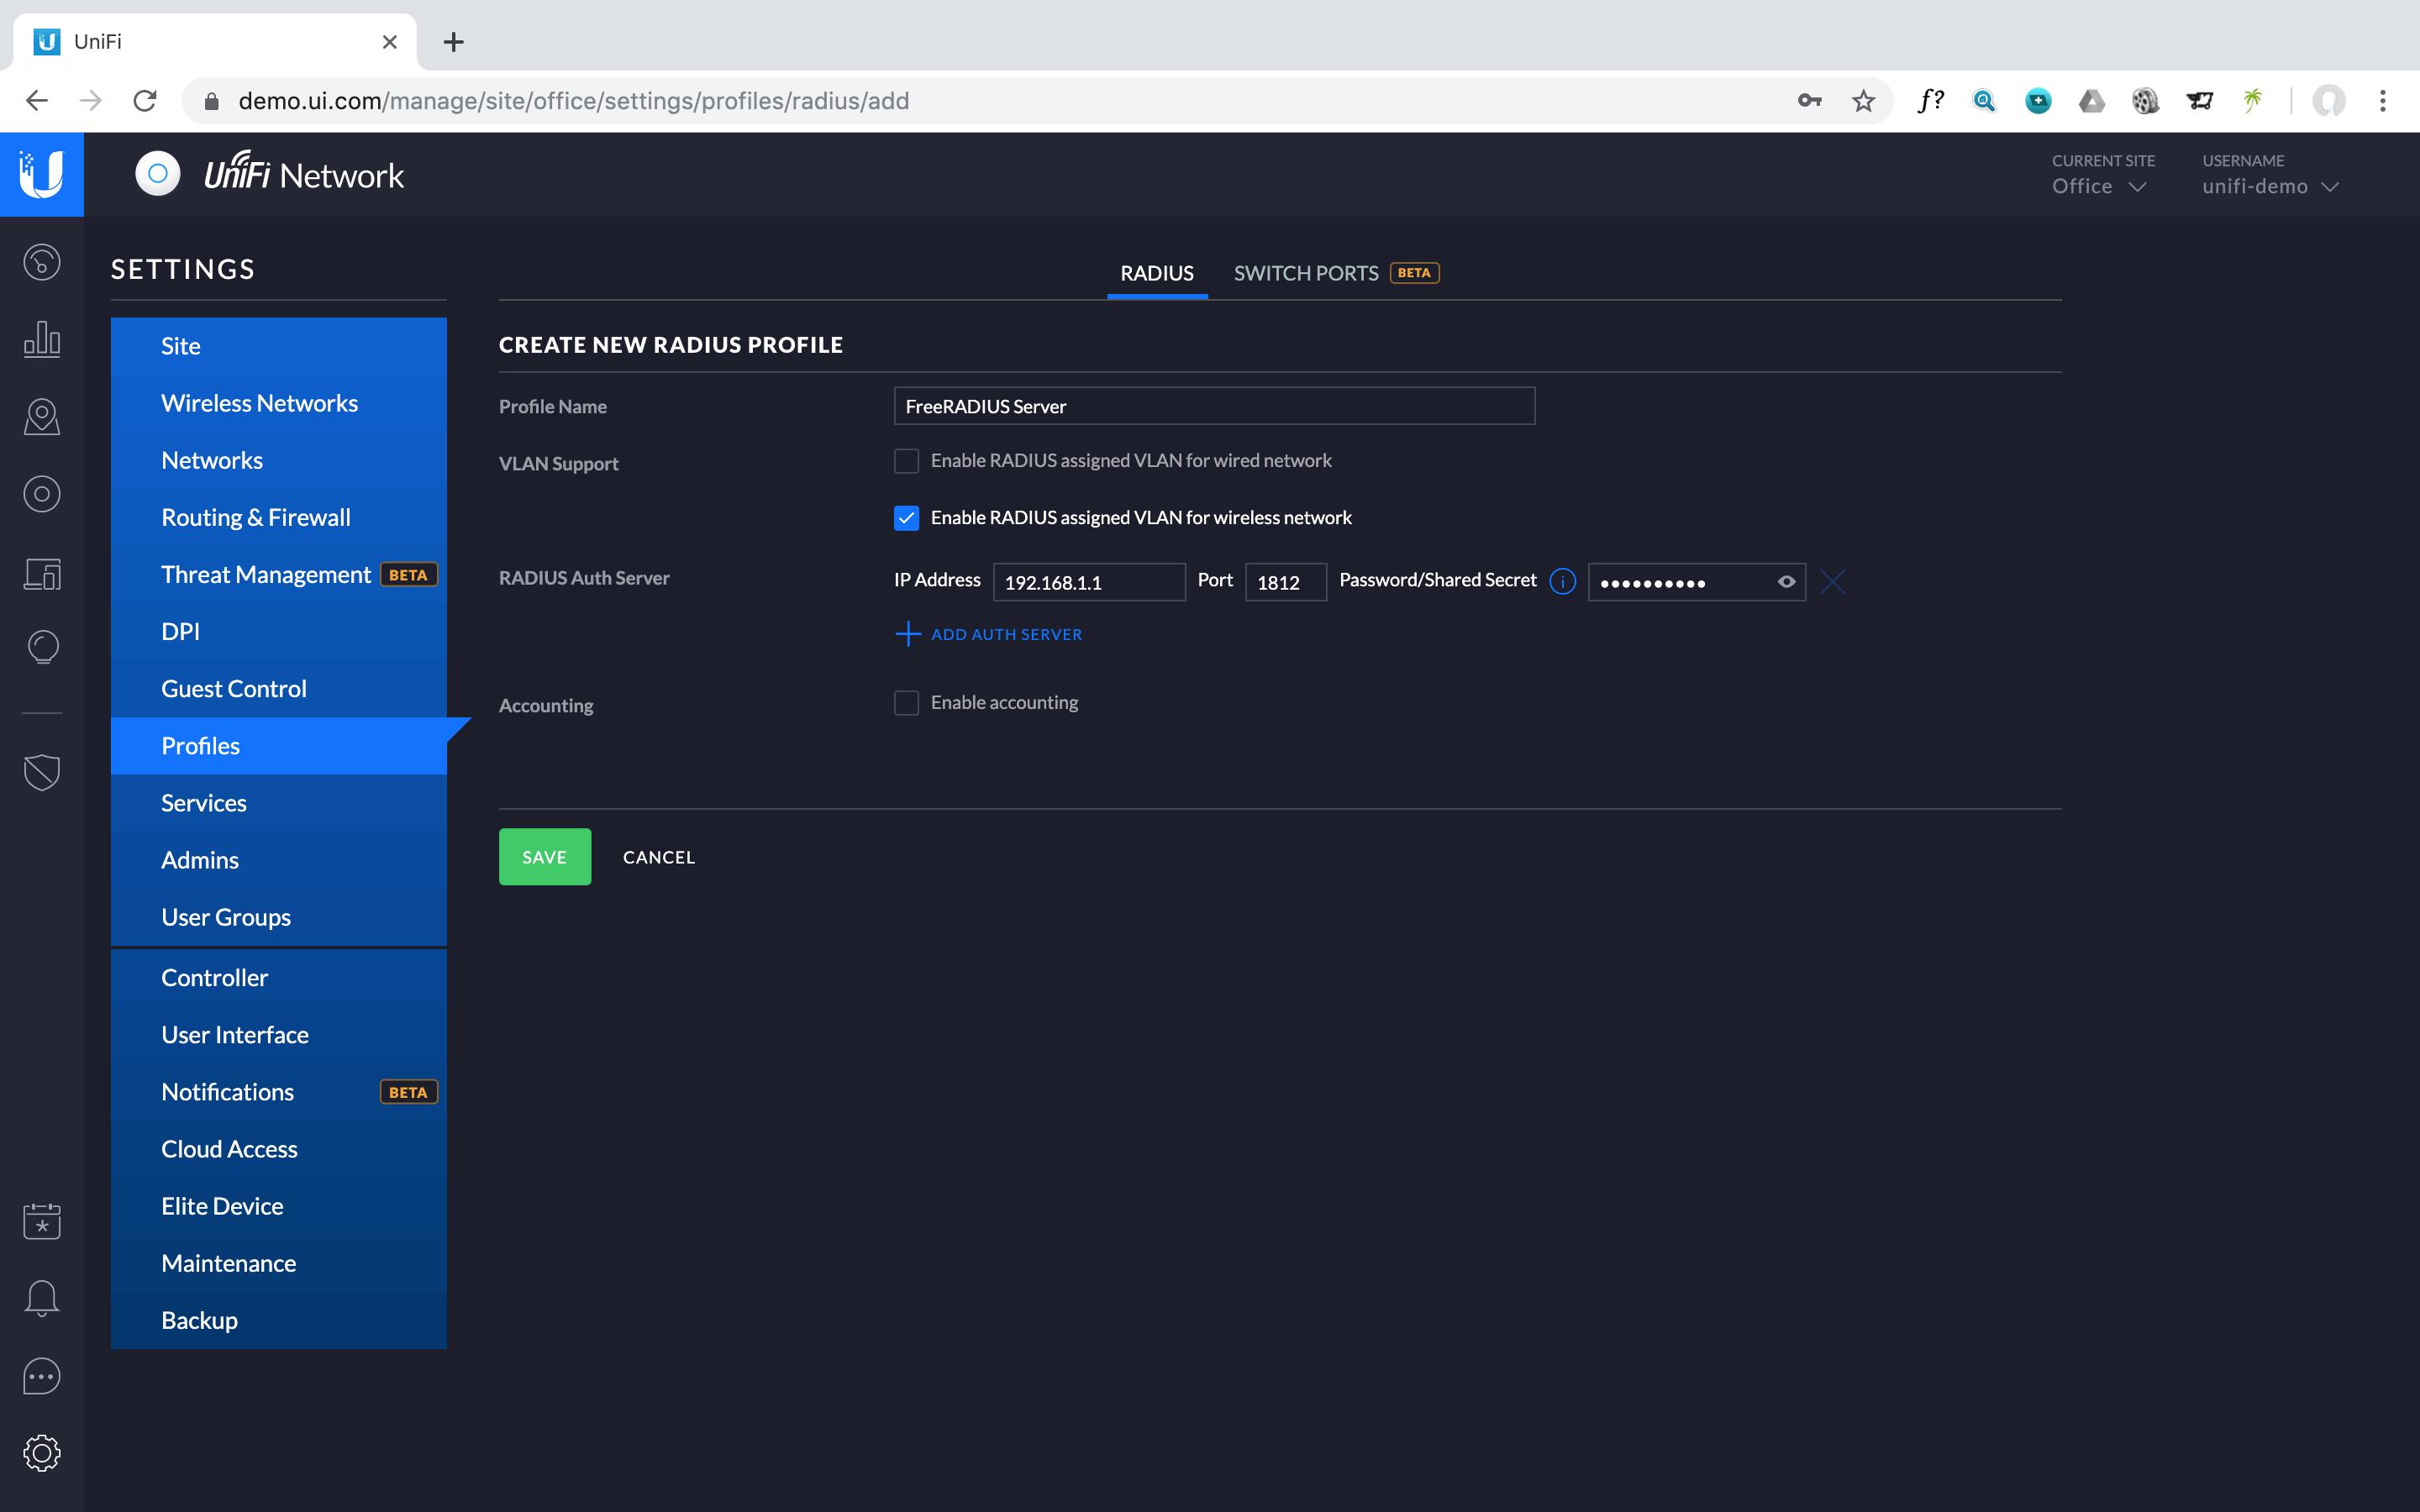
Now that you have successfully installed FreeRADIUS, you will need to add users similar to the steps above in adding user1. You would also need to add clients into /etc/freeradius/3.0/clients.conf. You would also need to set the access points to point to the RADIUS server for authentication.


Be First to Comment