Last updated on June 26, 2019
This article is a followup on the introduction to source control with GitHub. It covers the process using branches to control different versions of a single project.
Branching in Git
After the first commit, you will be on the master branch. This should be the branch that contains the finalised code. When you are following a code tutorial, this branch should contain the latest working version of your tutorial. When developing a software project, this branch contains the code of your finalised working version.
Before you continue adding more code to your master branch while following a tutorial, branch out your git so that in the event your code fails, you can revert back to the previous working version.
Switching to a new branch
To create a new branch, enter the command into your Terminal window. Remember to ensure you are still in the project directory.
git checkout -b adding-print
-b creates a new branch in our git hierarchy. adding-print is the ID of the new branch. Once the command is executed, you will be in the new branch. To verify that, enter the command
git branch
Your current branch is highlighted with an asterix.
Let us make a change to the Xcode project. Add the following code into the ViewController.swift file within the viewDidLoad function.
print("Testing the new git branch.")
Now, we will stage and commit the change to git.
Enter the following commands in the Terminal window.
 git add .
 git commit -m "print added"
 git push -u origin adding-print
Note the third git command. Instead of the previous git push -u origin master, we have git push -u origin adding-print. Here, we are pushing the new branch adding-print instead of master branch to the online repo called origin.
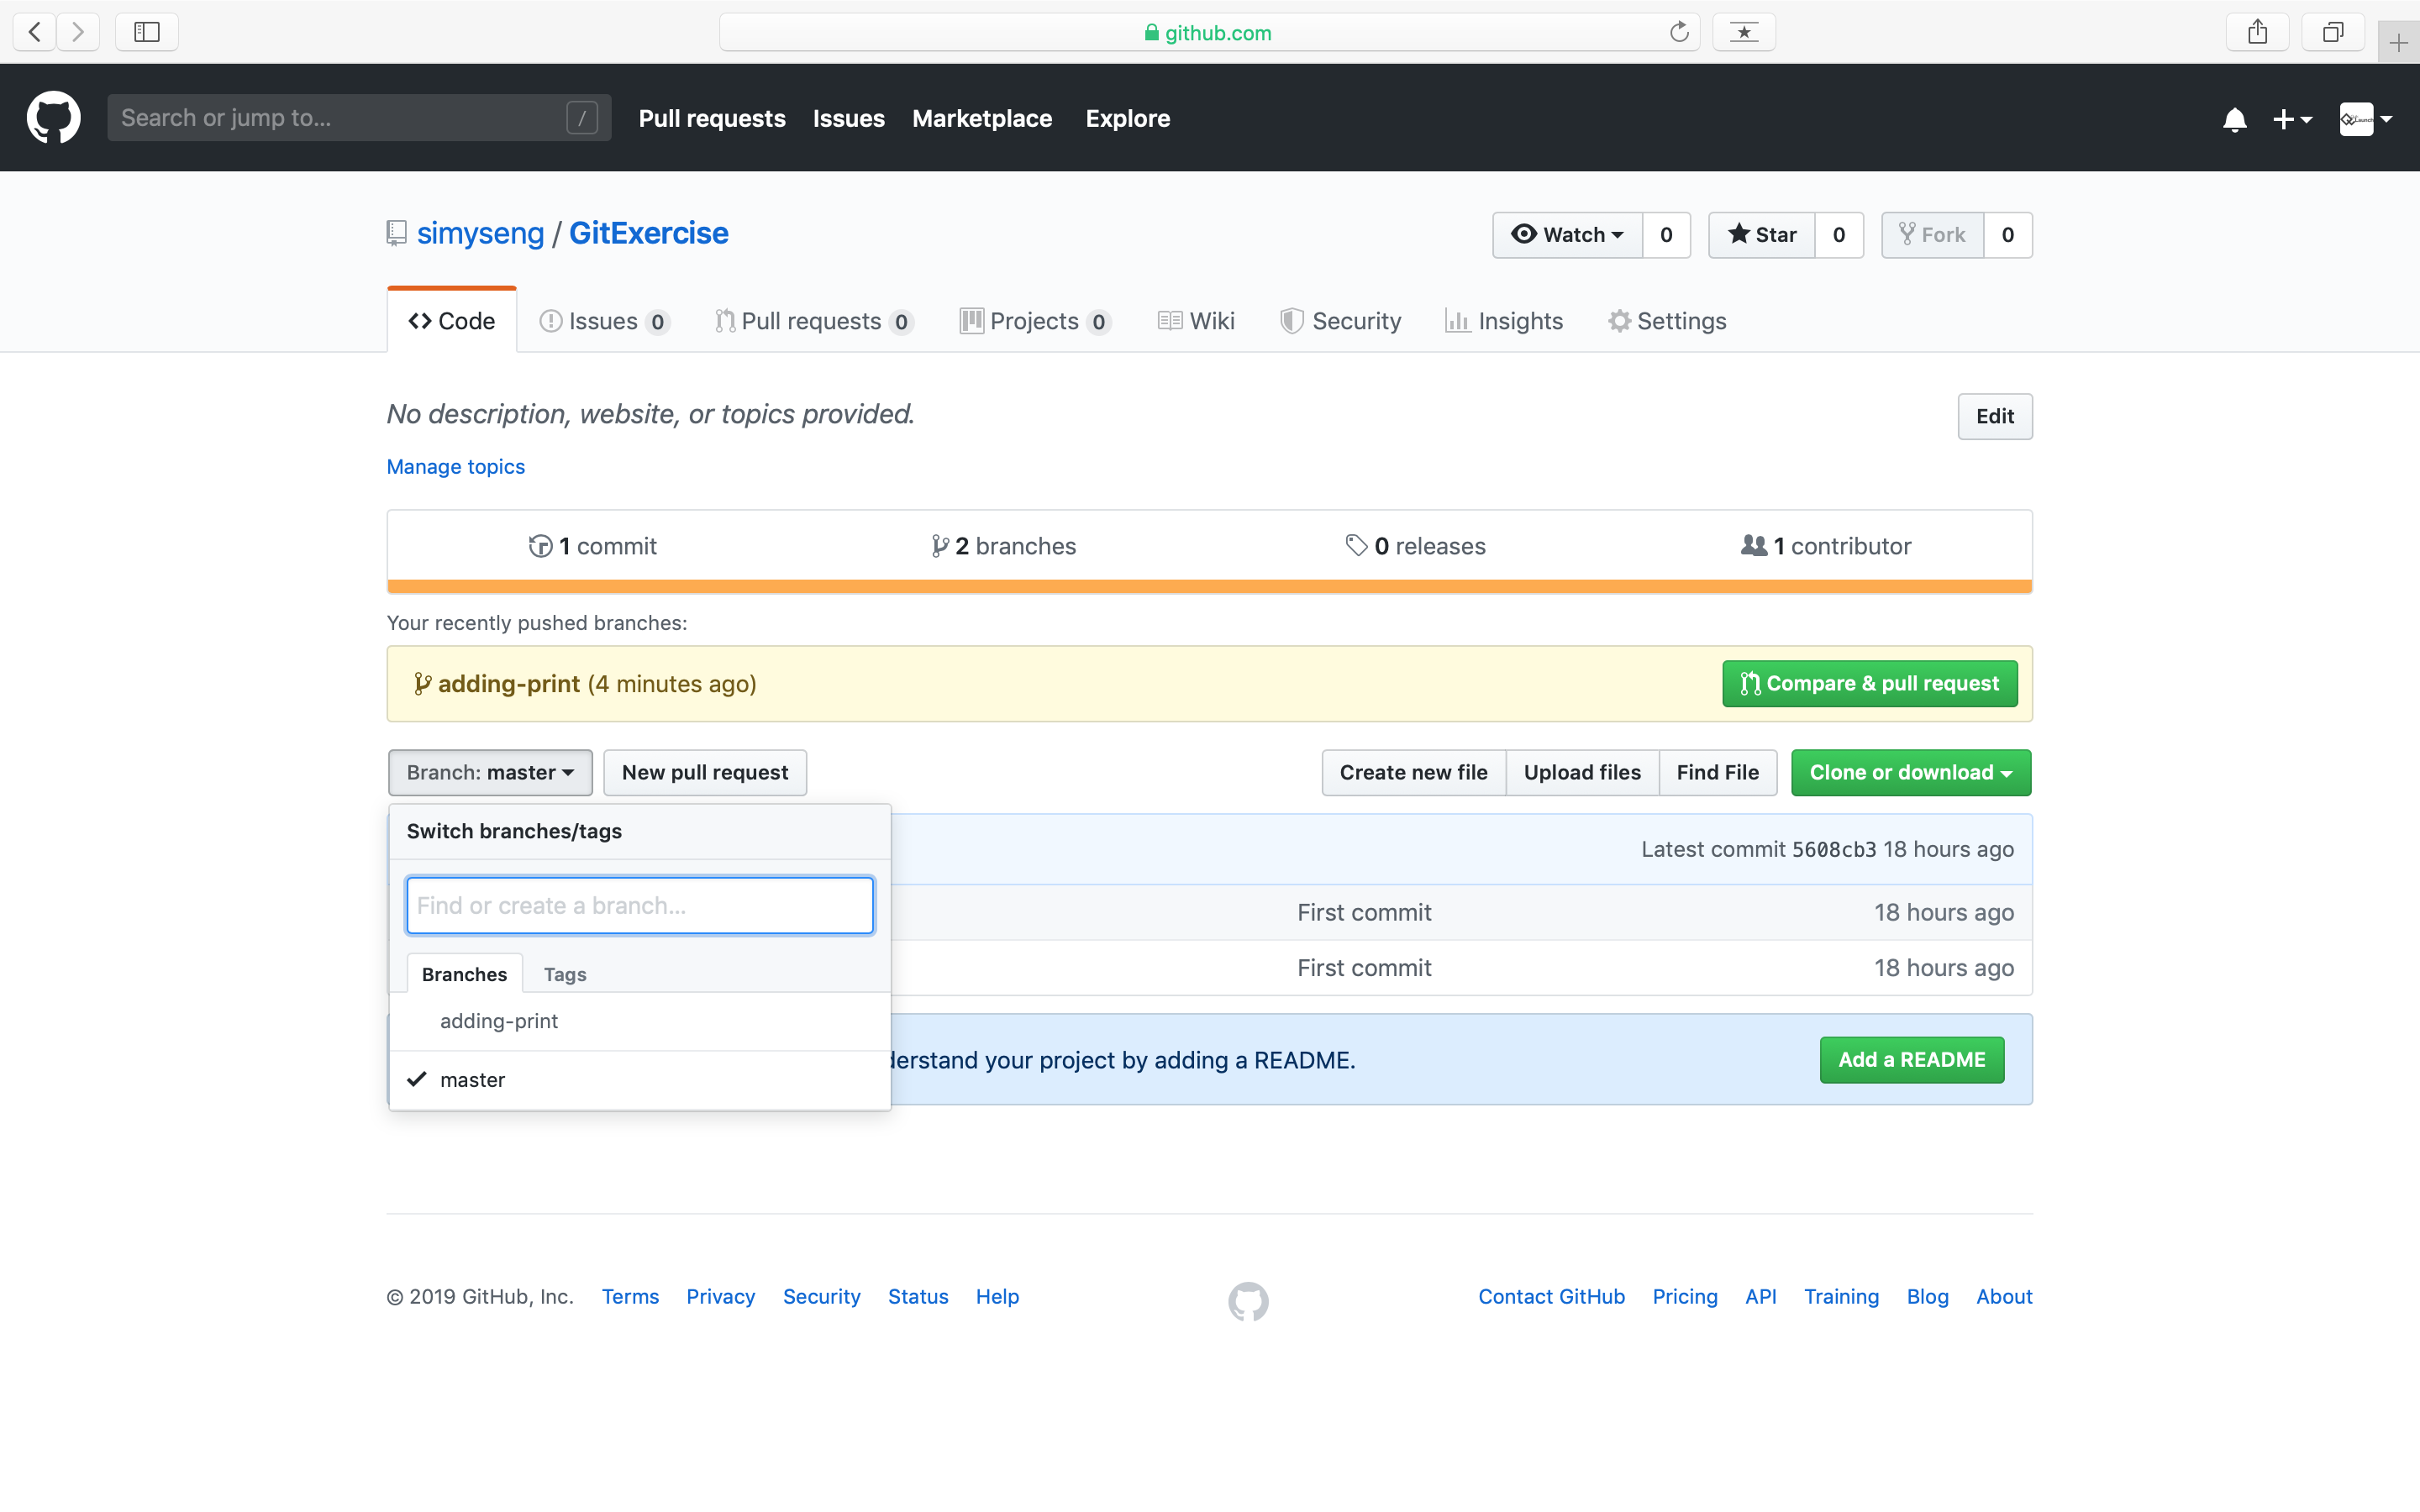
Refresh your GitHub project page in the browser window. You will see the new branch adding-print added to the dropdown in the Branch button.

If you select ViewController.swift from this adding-print branch, you will see the new code you just added.

Switching back to the master branch, you will see the ViewController.swift remains as the origin version (without the new code).
Merging the new branch to the master branch
If your code is working good, you should merge it to the master branch. To do that, you will need to go back to the master branch on the computer.
Using checkout command, you do not need the -b flag as this is not a new branch. In the Terminal window, enter the command
git checkout master
It is interesting to note that once you changed to the *master* branch, the code in Xcode reverts to the original version before you added the new code. At this stage, you would want to merge the working code from *adding-print* into this *master* branch.
To merge your new code from the adding-print branch, use the merge command with the branch name as the parameter.
git merge adding-print
Finally, push the master branch to your online repo.
git push -u origin masterRefresh your browser window and check that the master branch’s ViewController.swift now contains the newly added code.

Conclusion
Armed with this and the last tutorial, you will be well-equipped with the knowledge to create different versions of a project so that you students can download the respective branches for their own study.